Needle Felted Elephant Tutorial
Posted on
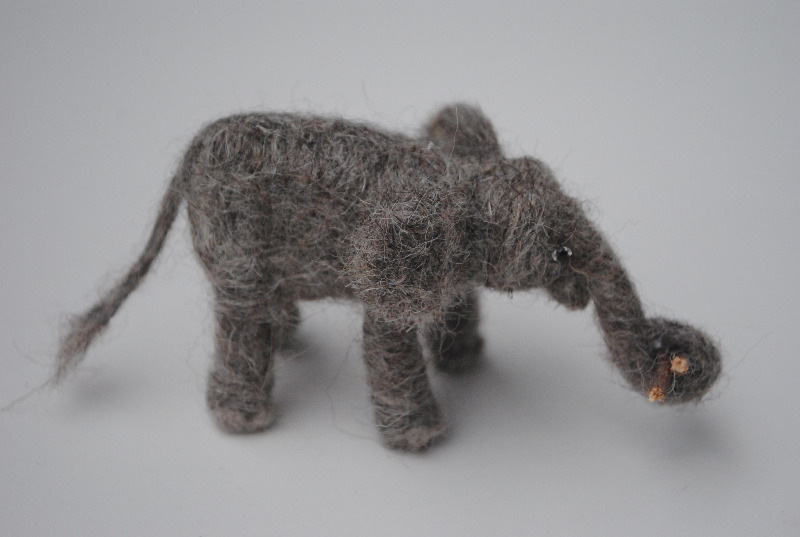
How to make a needle felted elephant, heidifeathers.com for a needle felting starter kit with all the wool and supplies you need to make this elephant and more
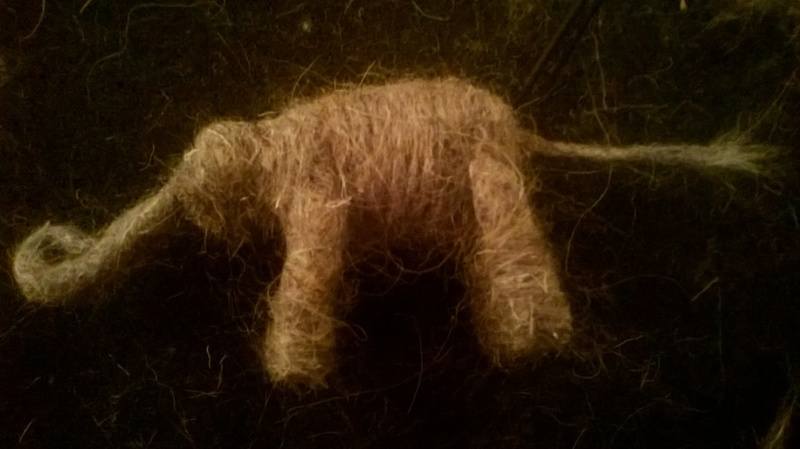
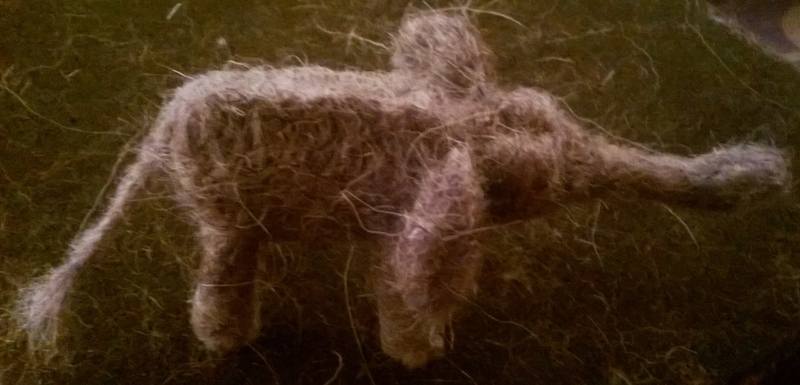
1. Take a section of wool tops for the body, (you will need as much wool as this for the other sections of the elephant) roll the wool into a tight log shape, hold and stab with a silver or a green needle, turning all the time to shape the surface evenly. Stab the ends of the log, stabbing one end more than the other. This will be the body end the other end the head.
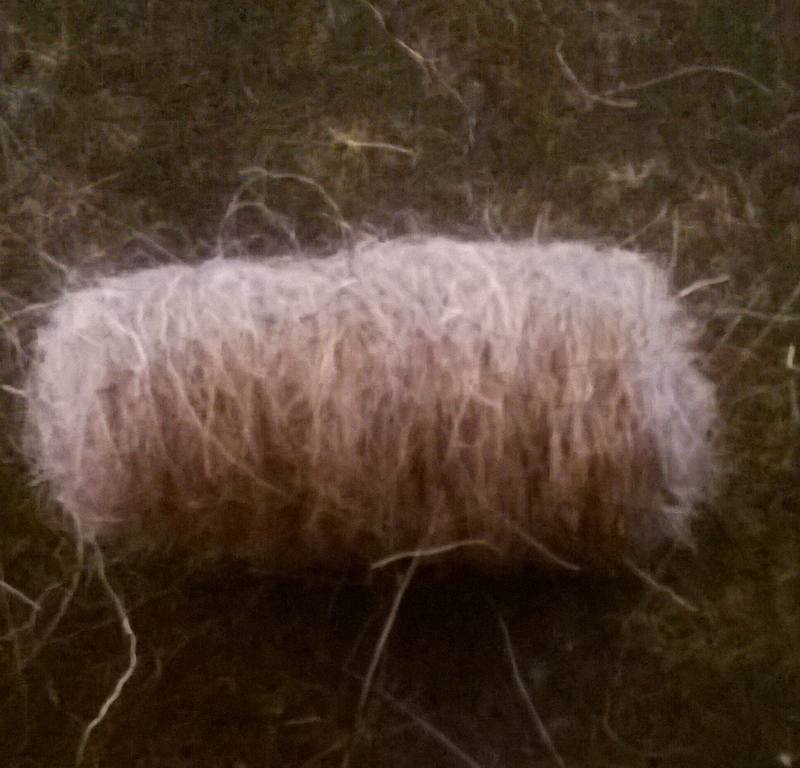
2. Stab the shape into a neat log with rounded ends. Then stab around the thinnest end with the green needle approximately a quarter of the way from the end to create a head and neck.
3. When the head is defined using the green needle stab a line going halfway down the centre of the head, at the end of that line go across the middle of the head creating an upside down T.
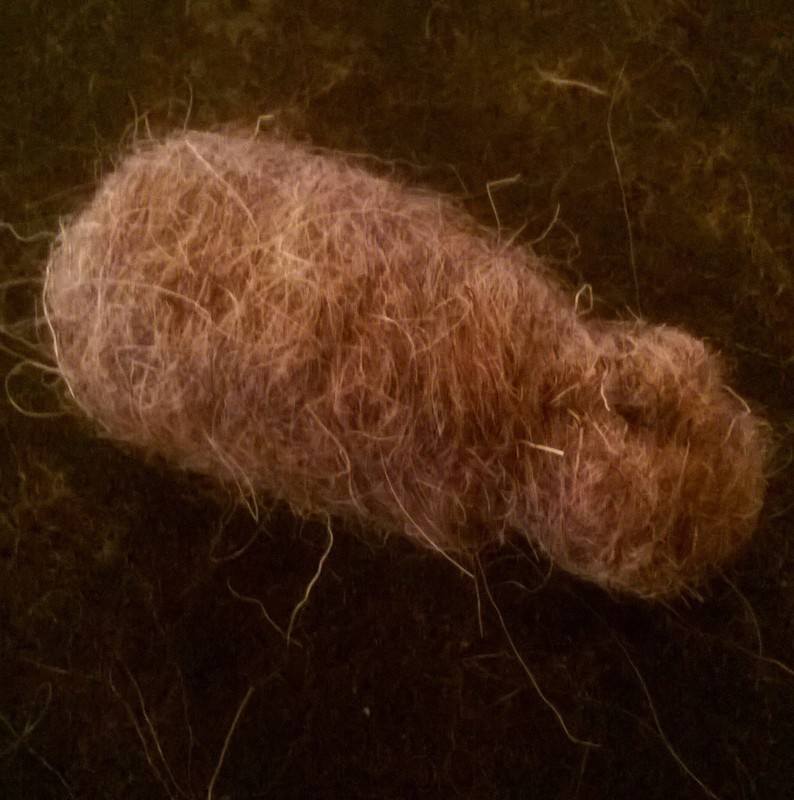
4. Using your fingers pinch along the centre of the back to create a backbone then lay the body on its side and needle along the backbone to create a ridge. Tidy any strands using a red or blue needle.
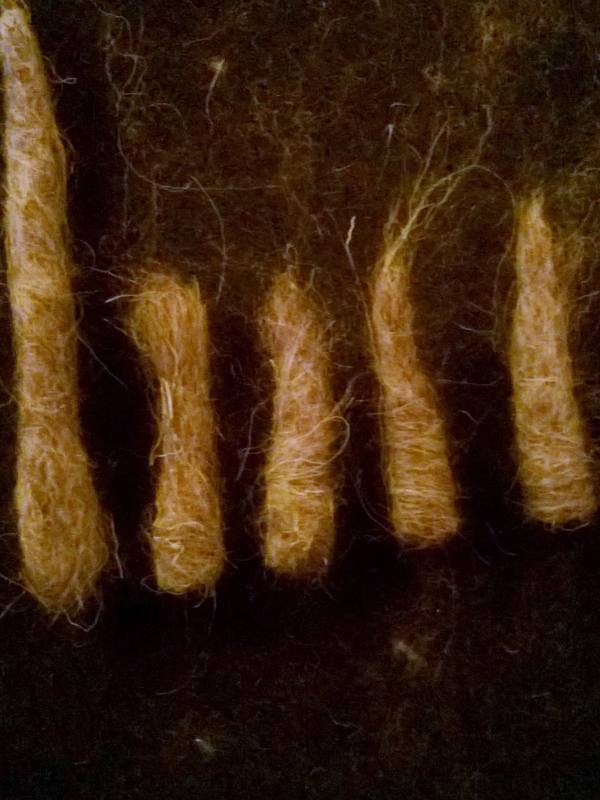
5. For legs pinch a small clump of wool fibres and roll or fold in half then roll into a tight log hold and stab with silver or green needle. Check size next to the body if too big discard or if to small wrap a few more strands around the leg and attach with the red needle. Do not needle the end fibres as you will use these attach the leg to the elephant. Repeat for the other three legs. (Tip: if you take the wool and twist with your hands you can see what thickness it is possible make with stabbing)
6. To make the trunk take a clump of wool, fold the fibres in half, and then roll lengthways to create a longer log shape. Stab with the green and red needle but do not needle the end fibres. Curl the end of the trunk like the elephant is holding something and stab to hold it in place. Stab until firm and defined.
7. Using the green needle attach the legs to the sides of the body with the loose fibres. Attach the trunk in the same way below the upside-down T on the head.
8. Take a thin section of fibres and roll between your palms to make the tail. Leaving the strands at both ends loose stab tail to firm up with red or blue needle then attach to the elephants bottom using the green needle.
9. To ensure the legs and trunk are firmly attached you may want to wrap a little more wool around the joins and stab on with the red needle.
10. Take two small clumps of wool, roll into balls by folding the wool tightly from one side to the other keeping the ball shape constant as to do it. Then roll in your hands to loosely set the shape. Stab flat; shaping the fibres as you go into the ear shape you want (shape of the country India). Stab edges with care, and then attach to neck/head.
11. Roll into a small ball just using your fingers for the mouth, then stab on with the green needle under the trunk and shape with the red needle.
12. Roll a clump of fibres loosely in your palms and attach to make a fuller tummy.
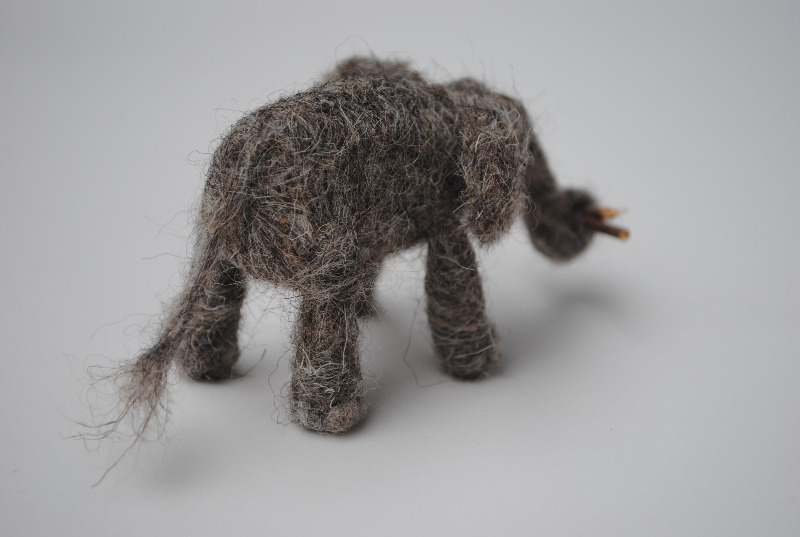
13. Poke holes with a needle for eyes at the top of the trunk then attach hand rolled black balls for the eyes, shape with a blue or gold needle. (I have added 4mm glass eyes which are sewn in)
14. Add small hand rolled balls for the toenails in a lighter grey. Attach with the blue or gold needle.
15. Take time to define muscles in legs, flatten top of back, around eyes etc you could add a hand rolled ball to make a fuller bum.

For a natural wool starter or beginner kit please see my shop heidifeathers.com
for more needle felted elephant pictures see our gallery and for more tutorials see out tutorials page
