
Needle Felted Apple Tutorial
Posted on
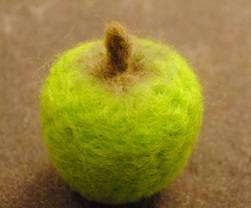
Below is a needle felting tutorial for making an apple using wool tops. You can buy all you need for this tutorial here or there are felted fruit kits
To make the Apple you need:
7g white wool
2g light green wool
Small amount of dark green and brown wool, mixed (stalk/bottom)
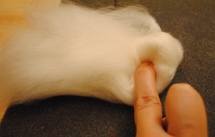
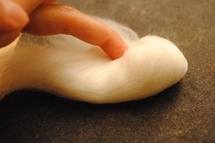
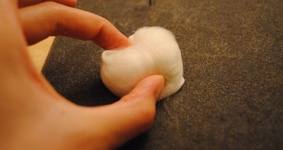
Roll up 7g of white by turning and folding the wool at angles, trying at all times to be creating a ball shape. Hold each fold securely as you go. The more compact the ball is will mean less time stabbing the wool after. See pictures 1-3.
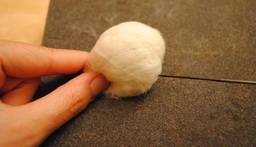
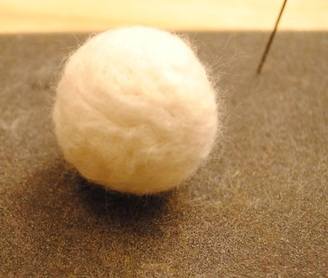
Hold your ball securely against the pad and start to stab into a round shape with the green needle, turn carefully keeping hold of the ball and continue to stab until it is fairly round and holds its shape. See pictures 3-5.
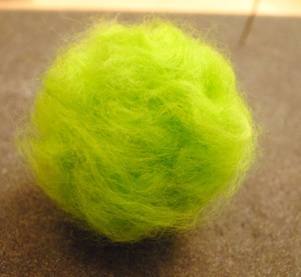
Fluff up your light green wool by pulling it apart lots times with your fingers then add to the ball in small sections by stabbing a few times with the green needle. Continue until the ball is covered. See picture 6. Stab all over the ball evenly and keep turning until the fluffy wool is firmly attached, using first the green needle and then the finer red needle (this may take a little time). Stab to get rid of any lumps and awkward knots. Lumps that won’t go when stabbed cover with a little more fluffed wool.
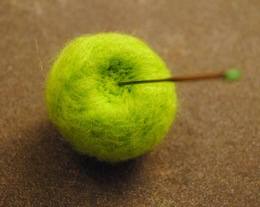
Stab one end with the green needle on the fruit to create an indent (see picture 7) then flip upside down and repeat so you have top and bottom indents. Choose which end you want to be the bottom of the fruit.
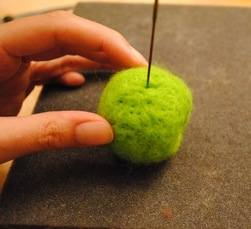
Using the green needle stab firmly from the middle to approx 1cm away from the bottom in lines all around the apple. See pictures 8 & 9. Then stab with a red needle to blend any harsh lines. Continue to shape so the apple has rounded edges and apple like shape, always keep turning as you go.
Mix a pinch of brown and dark green in your fingers to use in making the stalk and bottom.
Take a small pinch of the mixed wool and roll into a ball with your fingers and palms. Place in the middle of the bottom indent and needle flat, easing in the edges with the red needle (carefully, so as not to snap the needle) to create a bit of a star shape.
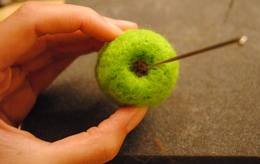
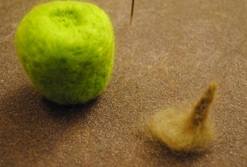
Made a 1” long stalk and roll half the stalk in between your fingers and leave the other half fluffy. Stab the rolled half with a red needle into the shape of an apple stalk. See picture 11. Spread out other end of stalk and place on the top of the apple and stab on with the red needle. See picture 12. Done!