Nepps: Tiny Fibres, Big Texture
Posted on
What Are Nepps (and What They Actually Do in Felting)
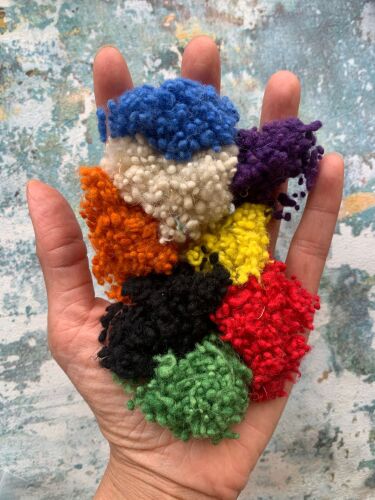
Nepps are tiny, compact wool pills created during carding. Because the fibres are already tangled into tight little knots, they don’t draft, and they don’t fully integrate into surrounding wool the way regular roving does.
This is exactly what makes them useful: they sit on the surface of your felt and create texture, speckling, and organic irregularity.

You can think of them as:
- Texture beads
- Mini pebbles
- Wool confetti
Their structure makes them perfect for adding natural, whimsical, or tactile surfaces — anything that benefits from unevenness, depth, or a bit of visual “noise.”

Using Nepps in Needle Felting
1. Surface Application (most common and most controlled)
You’ll need:
- A firmly felted base
- Nepps
- A fine needle (38–40 gauge)
Steps:
- Felt your base shape until it’s firm.
- Sprinkle or place nepps onto the surface.
- Use light, shallow stabs to tack them down.
- Work around the edges of each nepp to anchor it without flattening it.
- Add more layers for denser texture.
Results:
- Nepps stay visible and dimensional.
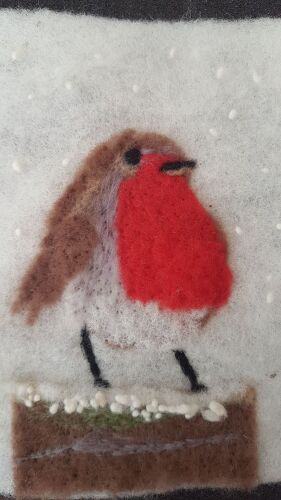
- Ideal for sheep coats, mossy rocks, speckled birds, mushrooms, and fantasy textures.
2. Blending Nepps Into Wool (for subtle texture)
Steps:
- Take a small amount of your base wool.
- Mix in a pinch of nepps with your fingers.
- Felt as normal.
Results:
- Nepps sit as soft bumps within the wool.
- Great for natural fur variation, stone, bark, or organic surfaces.
3. Placing Individual Nepps (for precision)
Steps:
- Pick up a single nepp with your needle tip or fingers.
- Place it exactly where you want it.
- Anchor with tiny stabs around the edges.
- Rotate your piece so you’re always stabbing from the angle that keeps the nepp round.
Results:
- Controlled spots, freckles, markings, or delicate dusting.

Using Nepps in Wet Felting
Nepps behave beautifully in wet felting because they partially migrate but keep their shape.
Steps:
- Lay out your wool layers.
- Sprinkle nepps on top or between layers.
- Wet felt as usual.
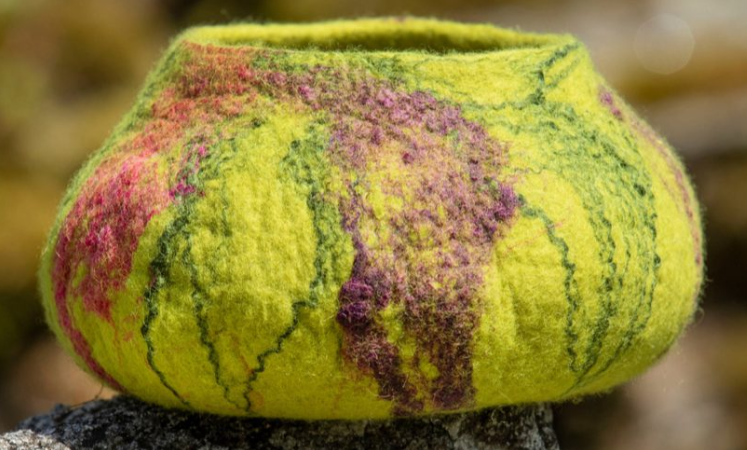
- As the wool shrinks, nepps create a pebble-like texture.
Results:
- Textured felt sheets
- Landscape backgrounds
- Moss, lichen, stone effects
- Mixed-media bases

Pro Tips for Best Results
- Use sparingly unless you want a very textured look.
- Fine needles anchor nepps without shredding them.
- Colour choices matter: contrast gives bold texture; similar tones give subtle variation.
- Expect some irregularity — nepps are naturally unruly.
- A firm base is essential for clean attachment.

Next steps have a play with adding nepps to your wool in needle felting wet felting and spinning.


